Early in my roasting, I had a friend over in my garage and was teaching him how to use the roaster, walking him through each stage of the roast cycle while a batch was going. I had loaded less coffee than I normally did, and I was so busy describing the roast that I stopped watching it. By the time I paid attention to the roast again, the coffee had gone through first crack, through second, and into what seemed like a third. Roasting only has two.
That one roast holds most of what you need to know to roast coffee at home. You need green coffee, a source of heat that keeps the beans moving, a way to cool them fast, and your full attention for the ten or so minutes the roast takes. Everything else is detail, and the detail is learnable in a few weekends. The two mistakes I made that time, a changed batch size and a wandering eye, are the two I would warn any new home roaster about first, and neither one has anything to do with how good your equipment is.
What do you need to roast coffee at home?
Four things, and only one of them costs real money.
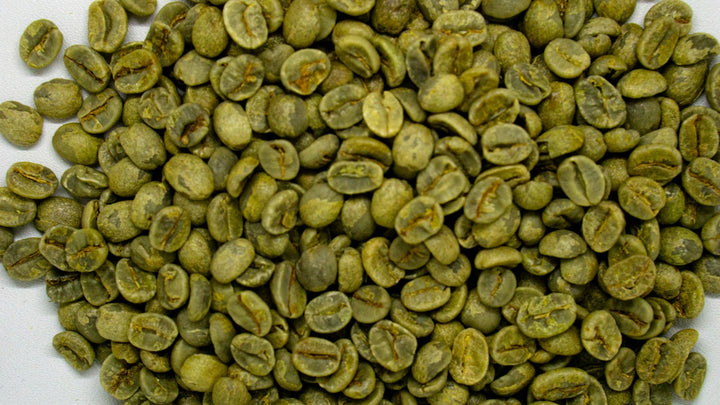
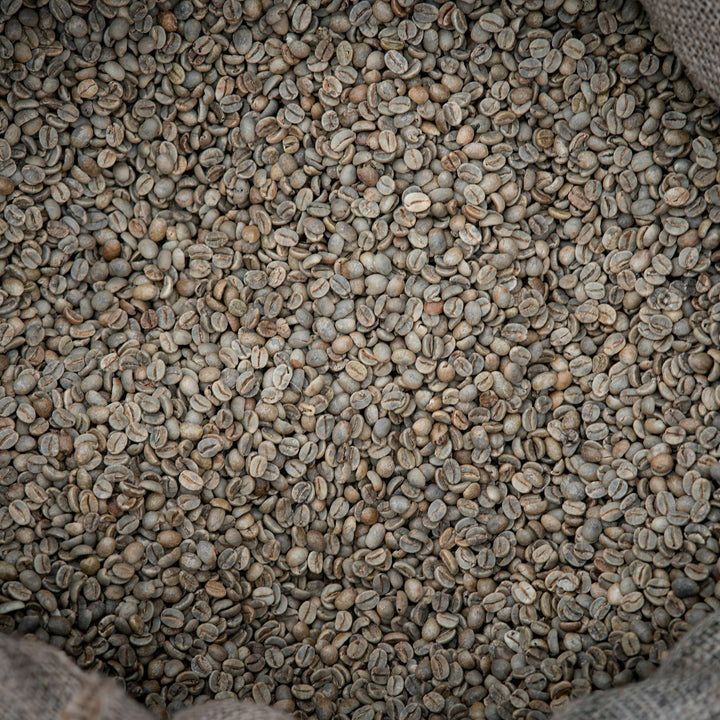
Green coffee. Raw, unroasted beans, which keep for months in a way roasted coffee does not. We do not sell green coffee for home roasting, so I will point you where I would go. Sweet Maria's was founded in 1997 and is best known for supplying home roasters, and it was the first import partner Inheritance ever bought from, back when our own orders were twenty-pound lots. They sell green in home quantities and publish more free instruction on home roasting than anyone else I know of.
A heat source that moves the beans. Coffee has to stay in motion while it roasts, or the side touching the heat scorches while the other side stays pale. That can be a hot-air popcorn popper, a heavy skillet and a spoon, a stovetop popcorn pot with a crank, or a roaster built for the job.
A way to cool the coffee. Two metal colanders and a spoon will do it. The roast does not stop when the heat does, so cooling is part of the roast rather than an afterthought.
Somewhere the smoke can go. A range hood that actually vents outside, an open window with a fan, or the back porch. Roasting coffee smokes, and the darker you go the more it smokes.
Which home roasting method should you start with?
Start with the one you already own, because the first ten roasts are about learning to read coffee, not about the machine. The amounts and times below come from Sweet Maria's own method guides, which I would read in full before your first roast rather than trusting my summary of them.
- Air popcorn popper. Their air popper guide says to use about the amount of coffee the manufacturer recommends for popcorn, roughly 3 ounces for the popper they tested, or to add beans with the fan running until they just stop swirling. First crack comes around three to five minutes in, and a full roast finishes in roughly four to seven. It is fast, cheap and easy to see into, and the batch is small.
- Skillet or wok. Their stovetop guide starts at about 9 ounces of green in a large preheated skillet, kept moving with a wooden spoon or a whisk the entire time. It works, and it is the easiest method to get uneven, because the beans on the bottom of the pan are always closer to the flame than the ones on top.
- Stovetop popcorn pot with a crank. The same guide puts this at 8 to 9 ounces on low-to-medium heat, with first crack around six minutes and second crack anywhere from nine to twelve. The crank keeps the beans moving more evenly than a spoon does. It also smokes heavily, because the batch is bigger, and Sweet Maria's is blunt that it needs a hood venting outdoors or an actual outdoor burner.
- A dedicated home roaster. Drum and fluid-bed machines made for home use handle the agitation and the chaff for you, and they make repeating a roast much easier. They are worth buying once you know you will keep doing this, and not before.
Whatever you use, Sweet Maria's rule for the air popper applies to all of them: never leave the roast. A popper full of chaff and very hot beans is not something to walk away from, and neither is a skillet over an open flame.
What happens to the beans while they roast?
The beans go through the same sequence in a popcorn popper that they go through on our 15-kilo production roaster, and learning the sequence is most of learning to roast.
First the coffee dries. The green beans lose water, turn a pale yellow, and the smell coming off them is nothing like coffee yet. Then they brown, and the browning is not caramel, though it is easy to assume it is. Most of the color and a great deal of the flavor come from reactions between the bean's sugars and its amino acids and proteins, which we explain properly in what makes roasted coffee brown.
Then comes first crack, the moment home roasting is built around. Sweet Maria's describes it in their guide to judging roast by all five senses as a loud popping like popcorn, the sound of steam and carbon dioxide forcing the bean to fracture. It is also when the last of the silverskin breaks loose and blows off as chaff, which is the papery skin you will find all over your counter. That skin is the only piece of the coffee fruit that survives the trip from the farm to your kitchen, and there is more on chaff here if you want it.
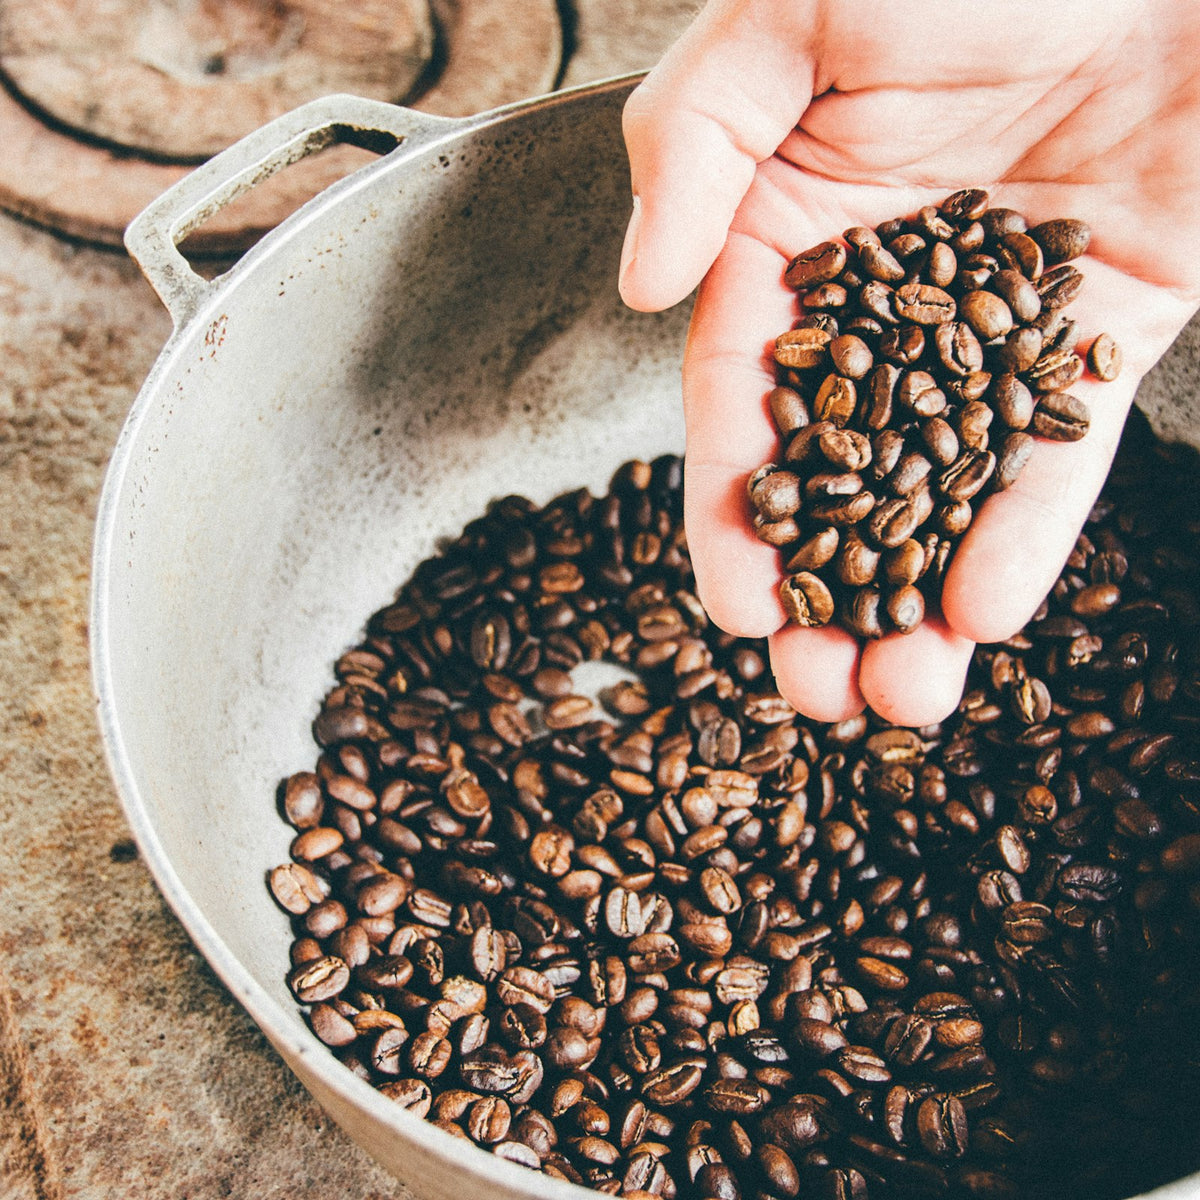
Coffee pulled at the end of first crack or shortly after sits at the light end of the range. Keep going and the cracks die down, the beans darken and develop, and eventually second crack starts. It is quieter and faster, a patter Sweet Maria's compares to cereal in milk. Somewhere in second crack the oils come to the surface, the smoke thickens, and the coffee is dark. Past that is where my garage batch ended up.
How do you know when a home roast is done?
By sound first, then color and smell, and never by a single number.

Sweet Maria's puts it in one sentence I agree with completely: one sense alone can't reliably determine roast level. Listen for when first crack starts and when it ends. Look at the color and the surface of the bean. Smell the smoke, which changes as the roast moves from light to dark. Their stovetop guide says the same thing about thermometers in capital letters: do not roast by temperature alone. A thermometer on a home setup is measuring wherever its probe happens to sit, which is why the same reading means different things on different machines. Learn the numbers on yours by writing them down beside what you heard and saw, not by copying somebody else's.
For your first few roasts, pick one target and stay on it: the end of first crack. It is the loudest and easiest landmark a home roast gives you, and stopping there gives you a light roast to judge every later batch against. Once you can hit that point twice in a row, you have a reference to move from. Go a minute further on the next batch, taste the two side by side, and you will learn more about roast level from that pair of cups than from any chart.
Then stop a little early. Sweet Maria's popper and stovetop guides both say to dump the beans when they are a shade lighter than you want, because the coffee keeps roasting in its own heat until it cools. Pour the batch into a metal colander and keep it moving, tossing it between two colanders or stirring it with a spoon, until the beans are only warm to the touch. Do this outside if you can, because most of the remaining chaff comes off here.
Write down every roast: the weight of green you started with, the time first crack began, the time you pulled the coffee, and a note on how it tasted. That log is how a home roaster stops guessing. It is also the habit production roasting runs on: every batch we roast for another brand carries batch tracking and lot identification.
Finally, wait before you brew. Fresh coffee is still releasing carbon dioxide, which is why a batch roasted yesterday can taste worse than the same coffee will in a week. Give it at least twelve to twenty-four hours, and expect most coffees to taste best somewhere between a few days and two weeks after the roast. We go through the reasons in how long coffee should rest after roasting.
What are the steps for your first home roast?
Here is the whole sequence for a first roast in an air popper, which is the cheapest way to start and the easiest to see into. The other methods follow the same order with different amounts and times.
- Set up where the smoke and chaff can go. Under a hood that vents outside, beside an open window with a fan, or outdoors. Put a bowl under the popper's chute to catch the chaff.
- Weigh the green coffee. Start at about 3 ounces, or the popcorn amount your popper's manual gives, and write the number down.
- Start the popper and add the beans. Sweet Maria's trick is to pour the green in with the fan already running, until the mass of beans just stops swirling.
- Note the time first crack starts. On a popper it usually arrives within three to five minutes.
- Decide where to stop, and stop a little early. For a lighter roast, pull it near the end of first crack. For a darker one, stop at or just into second crack.
- Cool the beans immediately. Dump them into a metal colander and keep them moving until they are only warm.
- Write the roast down. Green weight, first crack time, finish time, and how dark it looked.
- Let the coffee rest, then brew it and taste it. Add the taste to the same line in your log.
The step that matters most is the second one, and it is the one that caught me. The heat source stays the same from roast to roast while the mass it is heating changes, so changing the batch changes the roast even when you did everything else the same.
Which way it changes depends on the machine. In a hot-air popper, Sweet Maria's notes that a load that is too small can actually roast worse, because the hot air blows past the beans instead of through them. In my garage the change went unnoticed, which was the real problem: I had put in less coffee than I normally used, I was not watching, and the roast went much further than I meant it to. I tell that story from a different angle, and why it matters on a production machine, in our piece on minimum batch size.
The practical rule is the same either way. Weigh your green coffee, use the same weight every time you learn a new coffee, and change one thing at a time. A home roaster who changes the batch size and the heat and the coffee all at once has no way of knowing which one made the cup better or worse.
Can you sell coffee you roast at home?
Usually not legally, and that is a separate question from whether you should roast at home in the first place. Our own guide to starting a coffee brand without buying a roaster says it plainly: roasting at home to learn is one of the best things you can do, and selling it is different, because packaged coffee is a food product and generally needs a permitted commercial facility rather than a home kitchen.
So roast at home for as long as it is fun. If you roast a half pound a week for your own kitchen, you will never need our Lab, and I would rather tell you that than pretend otherwise. If you are home roasting because you want a coffee brand someday, roast as much as you can now, keep the log, and know that the step after the garage is not necessarily a roaster of your own. For a fuller picture of how roasting fits together from bean to bag, our older complete guide to coffee roasting covers the stages from a commercial angle.
That roast in my garage cost me one batch of coffee. Watch the coffee, keep the batch the same, and let your ears tell you where you are.
When home roasting turns into a business. The Inheritance Coffee Lab in Pensacola is a shared, licensed roastery where members roast their own green coffee on our equipment, including a 2-kilo roaster for development work and a 15-kilo machine for production. Access runs by application as a membership, and every member who roasts for themselves completes our basic roasting class first.